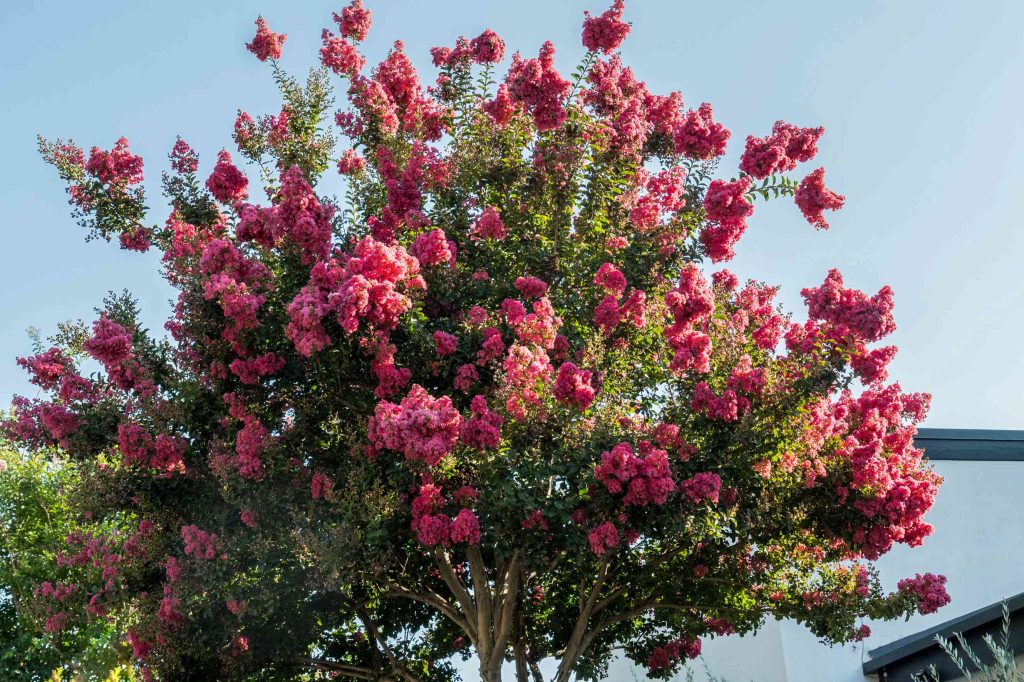
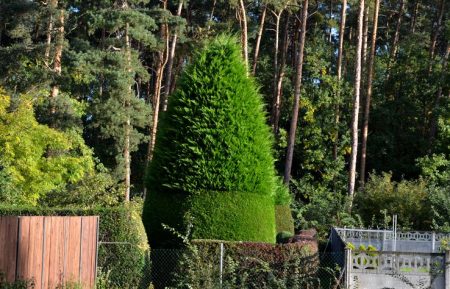
A crime spree happens every fall or early winter, and the perpetrators get away relatively free. We’re talking about “crepe murder,” the unofficial term for the crepe myrtle trees that fall victim to uninformed gardeners with tree loppers who cut the central leader branches.
The results is worse than an atrocious looking tree. Cutting the central leaders (i.e., “topping”) of crepe myrtles leaves them susceptible to disease, pests, weak wood, and poor vigor. And when the tree does sprout again after you’ve topped topped it, it will look like someone glued flimsy twigs to the trunk.
The way to resolve this issue is simple: learn how to correctly prune a crepe myrtle and apply those methods to avoid a future life of crime and keep your tree happy, healthy, and looking fabulous for long as possible.
Before Getting Started
If your crepe did well this past season, it will most likely do just as well next season without any extra pruning at all other than some of the small maintenance pruning that you would do with any other tree or shrub. That is right; you do not need to make a big project out of pruning your crepe myrtle.
The point of pruning is to allow more light and airflow, create structure, and removing dead or broken branches. Pruning your crepe myrtle tree just because you think you should is a bad idea. Don’t just casually cut the central branches because you imagine you should.
One of the most wonderful attributes of the tree is the exfoliating bark, and constantly cutting branches away limits this process and the resulting aesthetic.
When to Prune Your Crepe Myrtle
This is an important question to consider and there are many misconceptions out there, but the best time to prune a crepe myrtle is mid February. The best time to do most of the pruning on other trees and shrubs is in late fall or early winter but you want to avoid that here if you can. First, crepe myrtles add wonderful winter interest to a landscape, you do not want to ruin that with a pruning. Second, pruning early and exposing your plant to the harshest winter weather may damage it and leave it susceptible to injury.
What You’ll Need
Equipment / Tools
- Gloves
- Safety Glasses
- Saw
- Loppers
- Pruning Shears
- Tarp
Materials
Sanitizers
- 1 Bottle of Alcohol or Bleach
- 1 Rag or Roll of Paper Towels
Instructions
Your goal is simple: Make pruning cuts for shaping, removing dead and damaged branches, and giving the plant structure.
Pick the right tool for the pruning you want to do. Pruners are good for small branches up to 3/4 inches in diameter. Choose loppers for branches 3/4 inch to 1 1/2 inches in diameter. Use a saw for large branches over 1 1/2 inch in diameter. Clean your tools with a bleach or alcohol mixture before you make any cuts.
-
Lay Down a Tarp
Place a tarp under your plant to catch all refuse. Besides making cleanup more convenient, it also keeps branches off the ground, which is important if you have diseased or infected plant material.
-
Cut Off the Small Branches
Your first cuts will be any thin branches that need to be trimmed. Look for intersecting branches, branches that rub on each other (these will eventually be damaged and become weak), broken or dead branches, or any branch that goes outside of the shape you are trying to achieve.
Do not make cuts across the horizontal plane of a branch so you hinder vertical growth. This just encourages outward growth at the cut site. Cuts should be made vertically.
-
Remove Larger Branches
Once smaller branches are removed, attend to the larger branches that need to be removed, using the same considerations you used when deciding to remove the smaller branches.
If you reach come across a branch you would like to prune but it would require the use of saw and a vertical cut, leave that branch alone. Heavy branches that are cut with a saw require special cuts because their weight will break the branch instead of letting you make a clean cut.
Warning
Do not cut the central branches. Cutting the central leaders is referred to as “topping.” This is the number one most common mistake and it is exactly what results in crepe murder.
-
Use the Three-Cut Method for the Biggest Branches
Once the larger branches that can be attended to with pruners and loppers have been taken care of, you can cut the larger, heavier branches using the three-cut pruning method:
- A foot out from the trunk make your first cut underneath the branch sawing upwards through the branch until you are halfway through it.
- Make another cut about six inches out from the trunk this time from the top of the branch sawing downwards until you are all the way through the branch. You will be left with a 1-ft. stub of a branch attached to the trunk.
- Make your final cut about just off of the trunk of the tree sawing up from the bottom. You will notice a circular pattern where the trunk attaches to the branch. Make your cut outside that cut; this will allow the trunk to heal leaving a perfect donut-shaped scar.
-
Dispose of the Pruned Branches
Drag your tarp to a trash can or brush pile and dispose of the fallen branches.
Read the full article here


